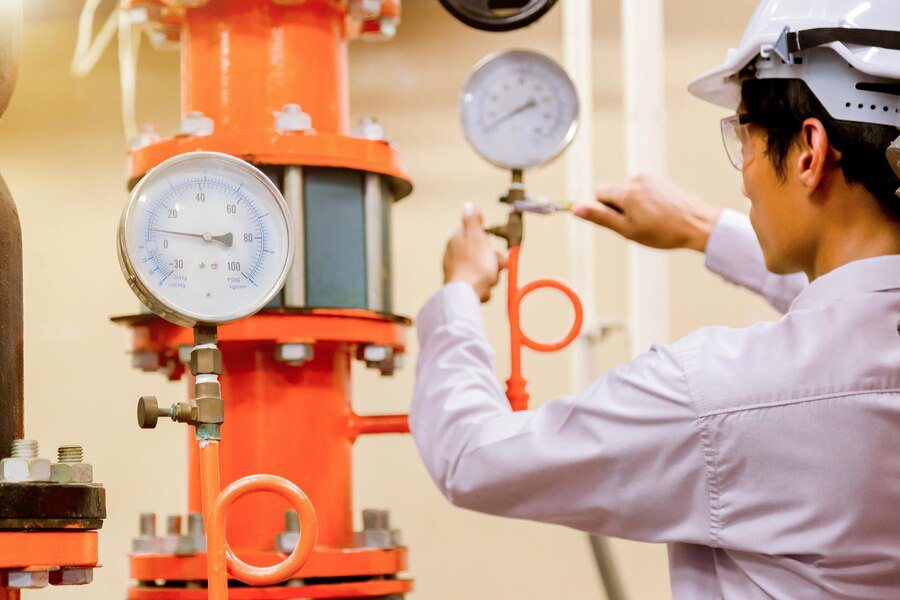
Installing a hot water system is a significant decision for any homeowner, impacting comfort, energy efficiency, and utility costs. Whether you’re upgrading an existing system or installing one from scratch, understanding the different types of hot water systems, planning the installation process, and ensuring proper maintenance are crucial steps to achieving a reliable hot water supply. It’s essential to evaluate your household’s hot water needs and choose a system that not only meets those requirements but also aligns with your energy efficiency goals. By prioritizing safety during installation, following manufacturer guidelines, and conducting thorough testing, you can ensure that your hot water system operates efficiently and effectively for years to come.
Types of Hot Water Systems
Before embarking on the installation journey, it’s essential to grasp the various types of hot water systems available on the market today:

Storage Water Heaters
These are the traditional water heaters that store hot water in a tank, which is continually heated to maintain a set temperature. They are available in gas, electric, and heat pump variations. Gas and electric models heat water using their respective energy sources, while heat pump models extract heat from the surrounding air and transfer it to the water.
Tankless Water Heaters
Also known as on-demand water heaters, these systems heat water only when needed, eliminating the need for a storage tank. They are generally more energy-efficient than storage water heaters because they avoid standby heat loss. Tankless water heaters are available in gas, electric, and even propane options, offering various flow rates to accommodate different household sizes and hot water demands.
Heat Pump Water Heaters
These innovative systems use electricity to move heat from one place to another instead of generating heat directly. By extracting heat from the ambient air surrounding the unit (often installed in a garage or utility room), heat pump water heaters can significantly reduce energy consumption compared to conventional electric storage water heaters. They work best in moderate to warm climates and may require additional space for installation due to their heat exchange process.
Solar Water Heaters
Harnessing the power of the sun, solar water heaters utilize solar panels to capture energy and heat water directly or indirectly through a heat-transfer fluid. While initial installation costs can be higher than other systems, solar water heaters offer long-term savings on utility bills and reduce carbon footprint. They are particularly beneficial in regions with ample sunlight and may require backup heating systems for periods of low solar availability.
Steps to Install a Hot Water System
Step 1: Evaluate Your Hot Water Needs
Before selecting and installing a hot water system, it’s crucial to assess your household’s hot water usage patterns and demands. Factors to consider include:
- Peak Demand: Calculate the maximum amount of hot water needed at any given time, such as during morning showers or laundry cycles.
- Energy Efficiency Goals: Determine whether your priority is reducing energy consumption, minimizing utility bills, or integrating renewable energy sources like solar.
Step 2: Select the Optimal Location
Choosing the right location for your water heater can impact its performance, efficiency, and longevity:
- Indoor vs. Outdoor Installation: Consider local climate conditions and available space when deciding whether to install the water heater indoors (often in a utility closet or basement) or outdoors (typically for gas or propane units).
- Ventilation Requirements: Gas and propane water heaters require adequate ventilation to safely exhaust combustion gasses. Follow manufacturer recommendations and local building codes to ensure proper venting.
Step 3: Prepare for Installation
Gathering the necessary tools and materials is essential for a smooth installation process:
- Tools: Basic tools such as pipe wrenches, adjustable wrenches, tubing cutters, and pipe fittings will be required.
- Materials: Depending on the type of water heater chosen (gas, electric, heat pump, solar), gather pipes, connectors, insulation, and any additional components specified by the manufacturer.
Step 4: Install the Water Heater
Follow these general guidelines for installing most types of hot water systems:
- Read Manufacturer Instructions: Carefully review the installation manual provided by the manufacturer for specific guidelines and requirements.
- Connect Water Supply Lines: Use appropriate fittings and connectors to connect cold water supply lines to the water heater’s inlet and hot water distribution lines to the outlet.
- Electrical/Gas Connections: For electric water heaters, ensure proper wiring and grounding according to local electrical codes. Gas and propane units require precise connection to gas lines and venting systems compliant with safety standards.
- Ventilation and Safety: Install a temperature and pressure relief valve to prevent excessive pressure buildup within the tank. Verify that ventilation systems are correctly installed to expel combustion gases safely.
Step 5: Test and Inspect
Before fully integrating the water heater into your home’s plumbing system, conduct thorough testing and inspection:
- Check for Leaks: Test all connections (water supply lines, fittings, valves) for leaks by turning on the water supply and observing for any signs of dripping or moisture.
- Verify Gas/Electrical Connections: For gas units, perform a leak test on gas connections using an approved gas leak detector solution. Ensure electrical connections are secure and grounded correctly.
- Safety Measures: Confirm that all safety features, including pressure relief valves and temperature controls, are functioning correctly as per manufacturer specifications and local building codes.
Step 6: Start-Up and Maintenance
Once installation is complete and everything is verified to be in working order, take these final steps:
- Initial Start-Up: Follow the manufacturer’s recommendations for initial startup procedures, such as filling the tank with water, purging air from the lines, and setting the thermostat to the desired temperature.
- Regular Maintenance: Establish a routine maintenance schedule to prolong the lifespan and efficiency of your hot water system. Tasks may include draining and flushing the tank periodically to remove sediment buildup, inspecting and replacing sacrificial anode rods (if applicable), and checking for signs of wear or leaks.
Testing for Leaks and Ensuring Proper Ventilation
Testing for leaks is a crucial step in ensuring the integrity and safety of your hot water system installation. Before fully integrating the water heater into your plumbing system, carefully inspect all connections, including water supply lines, fittings, and valves. Turn on the water supply and observe for any signs of dripping or moisture around these areas. Additionally, for gas or propane water heaters, conducting a leak test on gas connections using an approved gas leak detector solution is essential to prevent potential hazards.
Proper ventilation is equally critical, especially for gas and propane units. These systems produce combustion gases that must be safely vented outside your home to prevent carbon monoxide buildup. Follow manufacturer guidelines and local building codes to install ventilation systems correctly, ensuring efficient expulsion of exhaust gases while maintaining indoor air quality.
Start-Up Procedures and Initial System Testing
After completing the installation of your hot water system, proper start-up procedures are necessary to ensure optimal performance and longevity. Begin by filling the tank with water and purging any air from the plumbing lines to prevent airlocks. Adjust the thermostat settings to your desired water temperature, taking care not to exceed safe limits recommended by the manufacturer.
Once the initial start-up is complete, conduct thorough system testing to verify functionality and safety features. Test the operation of pressure relief valves to ensure they activate properly under high-pressure conditions. Monitor temperature settings and check for consistent hot water delivery throughout your home. This testing phase allows you to identify and address any issues promptly before relying on the system for daily use.
Conclusion
Installing a hot water system is a pivotal decision for your home, impacting comfort, energy efficiency, and daily convenience. By understanding the different types of systems available—whether it’s the reliability of storage heaters, the efficiency of tankless options, or the sustainability of solar or heat pump solutions—you can make an informed choice that suits your household’s needs and environmental goals. Prioritize safety during installation by following manufacturer instructions and local codes, ensuring proper ventilation and leak testing to safeguard your family’s well-being.
Ready to upgrade your hot water system? At EZI Plumbing in Chain Valley Bay, NSW, we’re here to help. Whether you need installation, maintenance, or repair services, our team of experienced professionals is committed to delivering reliable solutions tailored to your home. Contact us today at +61 448467788 to discuss your hot water needs and schedule a consultation with our friendly experts. Let’s ensure your home has the hot water it deserves, efficiently and affordably.

